Friday, October 28, 2011

Dining Room Wall Color Reveal

So you got a sneak peak of the dining room wall in the Halloween decor with my little pumpkin "friends". Now the Glidden Cobalt Blue gets its full debut dining room style. OK so this doesn't look currently like a dining room. We I have been diligently searching the local thrift stores and Craigslist for a nice farm-style table with so far no luck. Mom even found an option of choose your own legs and add them to any top online...still an option. Until then, the room houses our patio furniture for our non-existent patio. Fair trade right? The orange I even want as an accent color in the living room even gets carried through so it works, for now.

Turk is looking very handsome for all of you, you are welcome.


This sweet bud vase is a great centerpiece I scored on clearance at Wal-Mart for $8. A few sticks from a tree outside and BOOM.


These photos were all taken from the living room looking into the dining room.


Here is a reverse view looking into the living room from the dining room. Also a boudior view of the TV.


Here you can see how the two rooms flow together with the living room accent wall and the dining room. Pretty sweet, huh?


 Fin. (the end.)


How have you used color to spice up your place? What bold color choices have you made? Too scare to go all out? Accent wall more your style? Let us know!

Thursday, October 27, 2011

Halloween Decor 2011

Anyone who knows me, knows I love to decorate for holidays. Christmas being my favorite (just you wait). I gave you a little preview of some fall decor here, but the big shebang being Halloween.

In all the years Max and I have been on and off dating (five) we've never carved pumpkins together. We decided that in our new house we should finally make it a tradition...


Can you guess which pumpkin is who's?


Mine is the vampire-ish one on the left, Max's is the stitched up guy on the right.


I did some major Goodwill deal hunting since Halloween is their biggest time of the year and scored quite a few gems. I got these brand new with tags still on Target wreath (tag $19.99, Goodwill $9.99) and wreath holder (tag $9.99, Goodwill $2.99).


This bewitching lady was a Dollar Tree find $1. Turk hates her by the way. Anytime the wind blows and she moves, he freaks out and starts barking. Hilarious!


We used our humpy landscaping to our advantage. Since the lawn was messed up before we bought the house (the previous owners fixed the water main and we haven't gotten a chance to regrade the yard yet), we took the two giant humps and created a mini graveyard. I got two headstones, a severed leg and six fence pieces for a total of $9 all from the Dollar Tree.


A fun surprise is this guy my mom got me as a housewarming gift, is still living and sprouting new blooms. Amazing!


Moving inside the house, I have talked a little bit about my fall decor already but I have made a few additions. One being my skull from Dollar Tree which turned out to be $0.25. Couldn't believe it!


The ghost and ravens with the pumpkin cutout was a Goodwill find for $3.99.


Because of the October issue of Better Homes & Gardens, I got a little obsessed with white pumpkins. At our local Pick 'N Save, we found a bag of six mini pumpkins for $6.99. I knew I couldn't pass them up. A few along our TV with a few fake leaves makes an unexpected fall punch.


Our eat-in kitchen table has a spooky cloth that was supposed to be for a door drape, I created a table runner by running it corner to corner across the table. Couple of candles and pumpkins and it makes a nice centerpiece. The candles and cloth were Dollar Tree finds.


This little shadow witch lantern was a Goodwill find for $2.99.


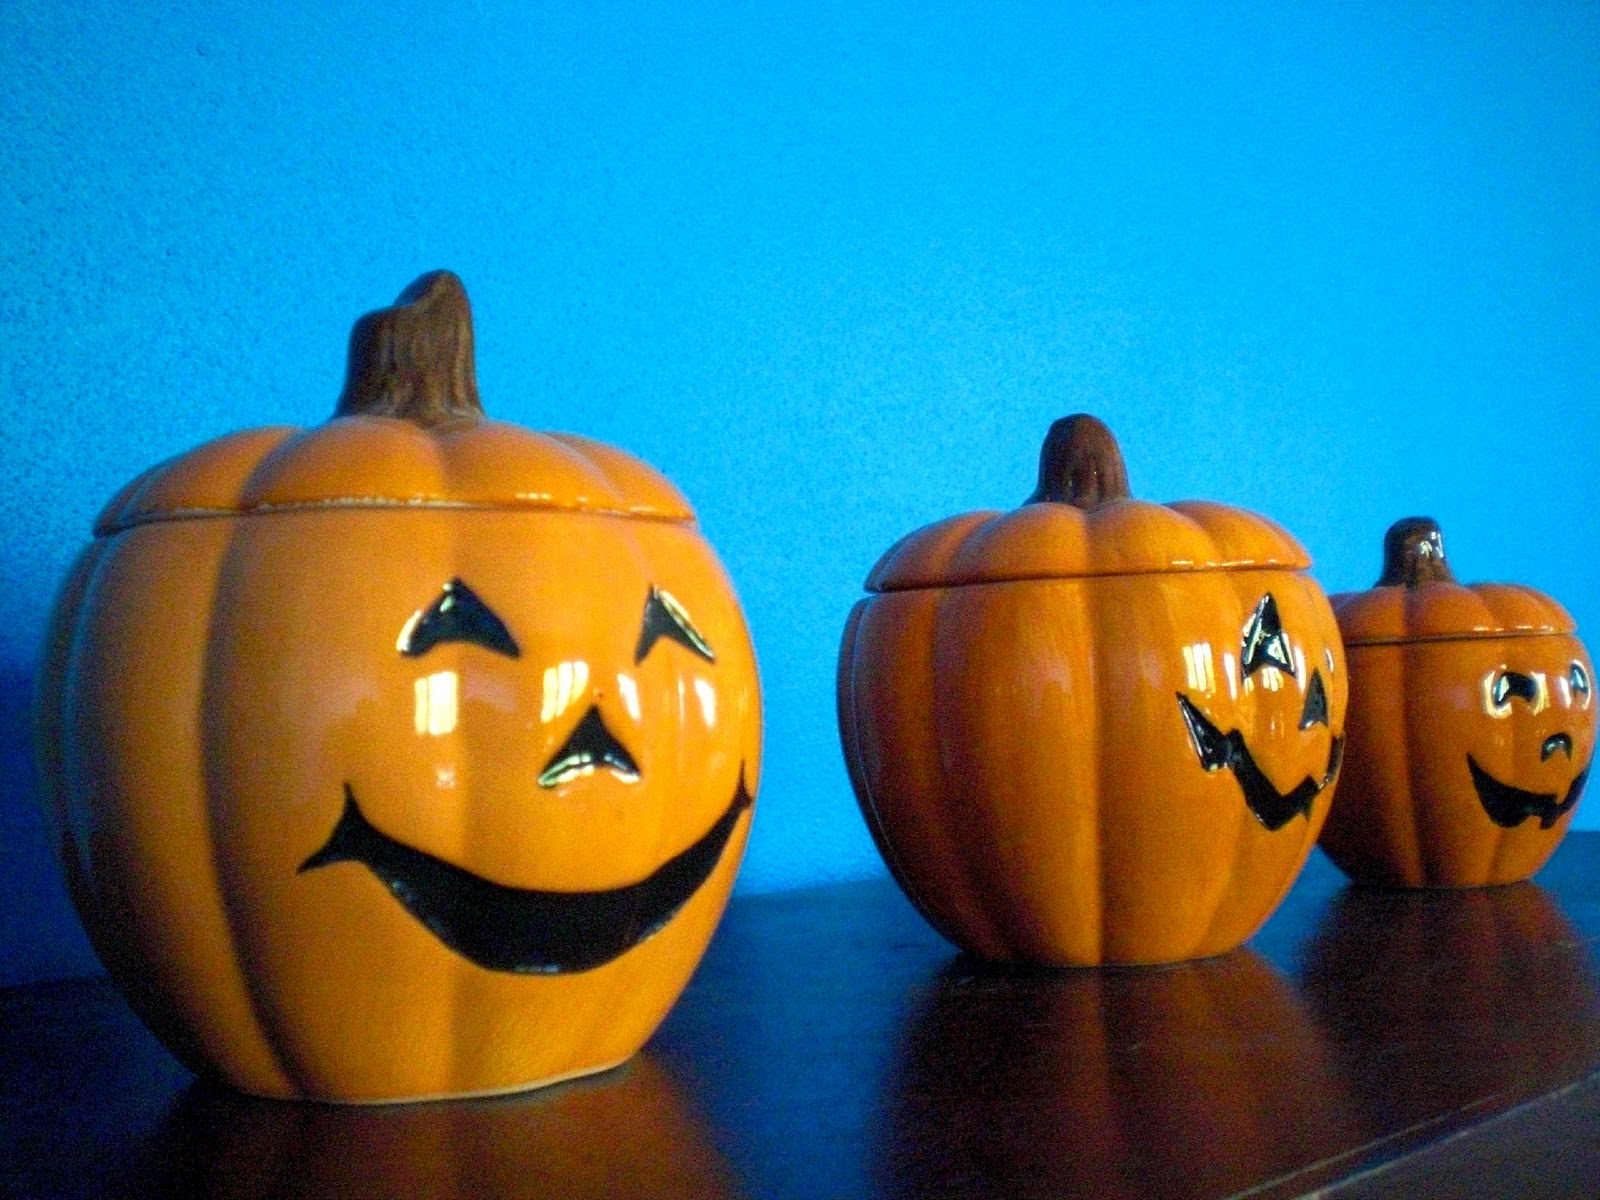
Showing off my newly painted dining room walls are a few jack-o-lantern candles, courtesy of Goodwill $3.99.


And wishing everyone the very happiest Halloween is a banner I got from Target for $2.50.


Next year, I plan to make more of the decorations but with this bathrooms both being remodeled this fall, I just felt it was a little too much to squeeze in. I can't wait to hand out candy to all the little kiddies this weekend for the first time in my life. What are your favorite parts of Halloween? Decorations? Dressing up? Food? Candy? If you haven't already noticed, I love anything food or drink pumpkin!

Wednesday, October 26, 2011

Blank Bathroom Canvas

So to start the process of redecorating now that we have all the hard stuff done, I wanted to give you a chance to see our bathroom as a blank canvas ready to be created...I feel like I'm gessoing canvases in my college painting class. For you non-artsy types who nothing about paint and/or gesso, gesso is the white coating that gets applied to raw canvas to make the paint stick better. That's the reason when you buy canvas at your local art store, its usually white, its already has gesso. There is your art lesson of the day.

This has been our transformation, thus far. Out with the old...


And in with the new!

Here is the closet sans door. I wanted to do open shelving to give the tiny space a more open feel. Here you can see the shelving planks ready for new tops.


Here is the back wall just waiting for color. Here is the taped down paper covering the gorgeous floor.


We wanted to replace the lighting after/during painting to make for a seamless transition. The hard part is since we are doing most of the updates after work and on the weekends, we have to replace the light when there is natural light available for us, mostly on the weekend.


Above the shower with the new Delta shower head.


The only issue with priming and texturing the walls was the dangling light fixture we had to have while working. It left a tiny area where we couldn't apply the primer right away. After the primer was finished drying, I carefully moved the fixture, a few inches over. Then using the very scientific tool, called my finger, dabbed the area until it was covered.


Now we are ready to start redecorating. Can you hold in your excitement?! How did you feel when you got to a certain point in a project? Completely relief?

The Workgasm - Part II

After working quite a few nights after work, both with us and with Mr. Fix-It Mark, we had most of the drywall up and some trim in the hallway. The next stage of the bathroom remodel could begin. Unfortunately, Max's birthday fell right in the middle of all this leaving him to decide to celebrate a new bathroom over another year older (maybe 29 will be better for him?), a new bathroom is a pretty sweet birthday present in my opinion. It's the gift that keeps on giving. *shrug


Anyways! His birthday came and went and the Saturday following it his parents decided to give us a little more help...aka another Workgasm. After the last time we spend the entire weekend working like dogs, Max set some ground rules for his "go, go, go" dad. By 8:00 PM, no matter what we were doing, we were going to stop and clean up for the night, have dinner and enjoy each other's company. Much nicer compared to the 10:30 PM finish time we had the previous work weekend. With that being said, we began our work.


Saturday: Day 1
The men started by mudding the drywall. We wanted to get it done as soon as possible to give the wall proper time to dry. This included the bathroom and the newly knocked out dining room/living room wall refinishing the corners. They also worked on adding the metal corner joints to the drywall.


This entire week was in the upper 70s and lower 80s and Ellen and I were super unmotivated to be doing house repairs when we could be enjoying the weather. Can you really blame us? 80 degree weather in October is not something we are used to in Wisconsin. We actively sought to be actively lazy and take all the trips to the store we could for the boys. 


Among those trips, we stumbled upon an estate sale about a block and a half from our house and scored a few tools for Max, couple of decor pieces and a sweet cupboard to house my grandmother's fine china she gave me. Pretty sweet and it just needs a little paint and TLC. Did I mention that everything was half off since it was the last day of the sale? I ended up with the cupboard for $12.50, knocked down from $25. I'm not 100% sure what I'm going to do with it yet, like most of my acquired furniture, but I'm leaning toward a white paint job and possibly putting a glass door in to showcase the dishes.


As the afternoon sun peaked, we buckled down and started back inside the house. We started by painting the dining room the same blue from the living room accent wall, Glidden's Cobalt Blue.


Sunday: Day 2
Ellen and I tackled a little project of repairing a mirror I acquired back in 2003 when I was a junior in college living with these girls, Jen and Brea (besties and sorority pledge class sisters), now who both have families of their own. So who ever actually bought this mirror for our apartment that year, I thank you. It's moved with me everywhere since then.


So the Target mirror was quite nicked up, since it had been moved from my calculations nine times, and the glass was really loose. We first popped the staples off the back to remove the glass. Then taking white trim paint that we already owned, we gave the frame a quick touch up.


After the frame had dried, I took Gorilla glue and lightly went around the inside of the frame and attached the mirror. Gorilla Glue calls to clamp things down for about two hours. I did not want to break the glass, so I used a few books and let them set. Boom. Quick redo.


Max and Mark worked on installing our new bathroom floor. For speed purposes, we decided to do a laminate in the main bathroom as well. We went with Swiftlock Brazilian Walnut from Lowe's since it had two separate textures giving it a very realistic look. They were a special order item we got at the last Workgasm, but well worth the wait. I know you are thinking, "wood floors in a bathroom?" Just you wait!


After laying down the laminate pad, Mark measured and installed while Max cut. Quite the system. Mark alternated piece sizes to make the floor look laid like natural hardwood.


They just had enough flooring with two boxes of materials. They were even nice enough to let me lay the last piece even though I didn't help with the rest of the floor.


Enjoying our gorgeous floors was short lived as we covered them up right away with paper so we could finish the walls.


The weekend ended with some Culver's burgers and fries and a sense of accomplishment.

The following Wednesday, Mr. Fix-It Mark came back. He and myself finished the walls by texturing and priming them to get ready for paint. Instead of using the Homax Wall Texture Orange Peel we used in the half bath, which was messy and a little expensive for such a small space, we opted for a more traditional route. We had leftover Homax Sand Roll On Texture in medium finish from the bedroom wall updates so we just mixed that with our primer and we were good to go.


I'm really smiling because I'm starting to see light at the end of this tunnel.


Related Posts Plugin for WordPress, Blogger...