
I have been talking about knocking out our living room/dining room wall partition since we moved in, or if you have been following a long here and here.
Project Numero Uno: The Half Bath Painting
If you saw the previous pics when we were priming the half bath, you might have thought, "wow that is really dark..."

Luckily, that was just the tinted primer. Hey, we learned our lesson on dark paint colors and primer here. So this is the actual color we were going for, Pittsburgh Paints gray color called Submarine. We had color matched this to Valspar's Ultimate Premium satin finish paint with low VOCs.

Just with a few strokes, the color looks dramatically different, giving the room a softer feel. The color actually matches a gray in the laminate tile flooring, SwiftLock's Tuscany Stone.


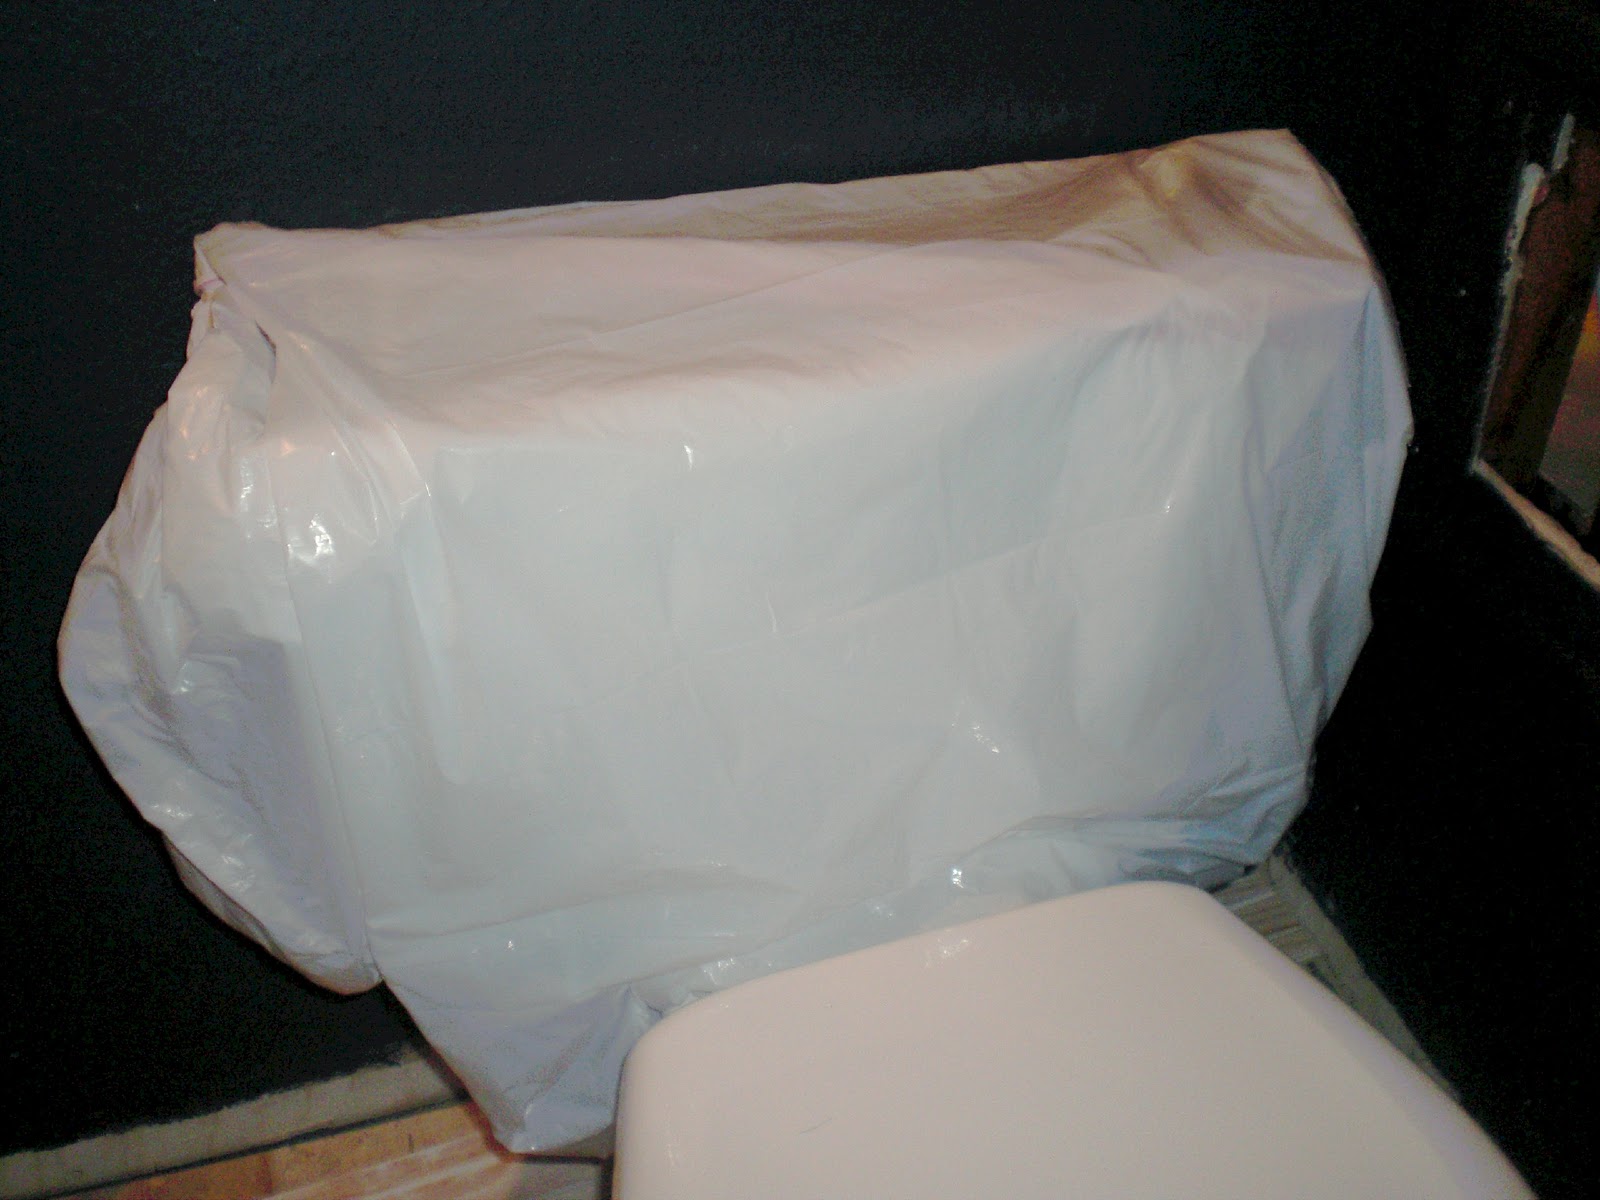
Using a trick I learned from my friend and sorority sister, Steph from She Demands, He Demos, I pulled a garbage bag around the toilet to prevent any messes around the bowl. Genius!
While all this was going on...
Project Numero Dos: Living/Dining Room Wall Demolition
We already had two Bagster bags now going from the rest of the bathroom demo, why not fill them up a little more. The wall seemed to be just partially put in and we were totally right. The stud walls were literally just put in between the opening and that was it.
To start demolishing, we used the highly technical technique (too much tech?) and just knocked on the wall to find the studs and didn't hit there.

Once Max got in there, the pieces just came out right where the seam tape was which was super easy.


When got around to the other wall in the living room to demo, he told me he wanted to pull a Jack Nicholson from The Shining, so I got really excited and said I wanted to video tape it.

Unfortunately, this is what he gave me. He really needs to improve on his acting skills...
Here is the new wall-less view from the dining room. (The studs were removed as well)

And also the new view from the living room. As a reference, cover all your furniture and not just your giant TV... Wiping down our leather mix couch was slightly annoying.

I am absolutely in love with the new space. The entire room has so much more flow and the room is much larger. Can't wait to get a new table put in there and start having dinner parties! I love to entertain!
Note: The Shining photo from here.
That looks so great! Can't wait to see more progress!
ReplyDelete