Friday, September 30, 2011

Bye, Bye Wall-E

(This post has been over a week in the making. With all this demo and reconstruction, plus still working, Max and I are exhausted. Most nights we are back in bed at 8:30 pm trying to get ready to tackle more...ugh)

I have been talking about knocking out our living room/dining room wall partition since we moved in, or if you have been following a long here and here. We I decided to that since our house was already covered in drywall dust from the move, we should hit two birds with one stone and knock down that wall finally. Also with the pace we were going, Max took on the wall, I took on the half bathroom wall color. Amazingly enough, minus the time it took for me to take photos of what was going on, both projects took the same amount of time to complete, about two and a half hours.

Project Numero Uno: The Half Bath Painting

If you saw the previous pics when we were priming the half bath, you might have thought, "wow that is really dark..."


Luckily, that was just the tinted primer. Hey, we learned our lesson on dark paint colors and primer here. So this is the actual color we were going for, Pittsburgh Paints gray color called Submarine. We had color matched this to Valspar's Ultimate Premium satin finish paint with low VOCs.


Just with a few strokes, the color looks dramatically different, giving the room a softer feel. The color actually matches a gray in the laminate tile flooring, SwiftLock's Tuscany Stone.


Using a trick I learned from my friend and sorority sister, Steph from She Demands, He Demos, I pulled a garbage bag around the toilet to prevent any messes around the bowl. Genius!


While all this was going on...

Project Numero Dos: Living/Dining Room Wall Demolition

We already had two Bagster bags now going from the rest of the bathroom demo, why not fill them up a little more. The wall seemed to be just partially put in and we were totally right. The stud walls were literally just put in between the opening and that was it.

To start demolishing, we used the highly technical technique (too much tech?) and just knocked on the wall to find the studs and didn't hit there.


Once Max got in there, the pieces just came out right where the seam tape was which was super easy.


When got around to the other wall in the living room to demo, he told me he wanted to pull a Jack Nicholson from The Shining, so I got really excited and said I wanted to video tape it.


Unfortunately, this is what he gave me. He really needs to improve on his acting skills...


Here is the new wall-less view from the dining room. (The studs were removed as well)


And also the new view from the living room. As a reference, cover all your furniture and not just your giant TV... Wiping down our leather mix couch was slightly annoying.


I am absolutely in love with the new space. The entire room has so much more flow and the room is much larger. Can't wait to get a new table put in there and start having dinner parties! I love to entertain!

Note: The Shining photo from here.

Wednesday, September 28, 2011

Fall Flower Quicky

As summer has closed its doors and fall pretty much showed up over night, my front step flowers were not doing as well as they were when I planted them here (very last photo).

They are totally dead. Epic fail on my part.


With all the running back and forth to Lowe's, I saw they had these fall mum's for sale outside for $7 a piece. I didn't even repot them since they came in these little faux planter's boxes. Instant change!


Even those this isn't our yard but our neighbor's, I wanted to show you that fall is definitely out in the 'Burbs.


Have any great early fall pics to share?

Wednesday, September 21, 2011

Living With The Mess

Many of us have done renovations and remodels at sometime. Sometimes it's a few hours, days or even a couple of weeks. After talking to my mom, she said she had to wash our dishes in the bathtub when we were remodeling the kitchen when I was a kid (I have no recollection of this).

With the bathroom(s) slightly out of commission, right now we have no mounted mirror in our house at all. We are leaning a mirror up against the kitchen sink to do our daily routines. With all the extra dust in the air, Max and I are breaking out like we are teenagers. No disrespect to teens, but I'm sure they are reading a home blog anyways.

This is how we are showering:

DISCLAIMER: If you can't stand the sight of unsightly bathrooms, drywall or someone who is not model fit, please do not watch this video. If you can stand a good laugh, please proceed. Also, I usually don't talk that slow, no clue why I was for this video.


What sorts of "inconveniences" have you had to go through to get your dream house?

The Workgasm

I'm cranky and sore, but bi golly, we did a TON this weekend! I really don't know where to begin because we were so across the board and everywhere. When the plummer wasn't going to be able to do our main bathroom fixes until Thursday and we were going to have help anyways, we had to reassess what were going to do. Max's parents were coming on Saturday and Sunday to help and my cousin Brian and his wife Megan were also coming on Sunday so we had many hands to do many different things.

Day 1: Saturday
Saturday morning started with a Target run to get a new air mattress pump to house our guests. That turned in to Halloween Palooza. I got more decorative items for the house (will show you that in a later post when I clean up all the drywall dust) and these dog "pajamas" for Turk. It says "Bad Dog" on them. Appropriate since he pooped on the carpet while I was gone shopping. He greeted his grandparents when they arrived like this.


After some assessment of the days' events (since our plans were slightly changed with the pluming issues), we decided we could get the half bath mostly done this weekend, half of the drywall up in the main bathroom and get the guest bedroom properly painted.

Ellen and I started demoing the half bath while Max and Mark started to prep the main bathroom to be dry walled. The hardest part was removing the toilet which was basically draining the water out and cleaning up the old wax seal. Mark removed the sink for us.

Here Max is giving me a little hello as I just removed our old build in mirror. "Hi babe!"


Here are the remains of the old half bath toilet. Goodbye gross toilet, you will not be missed.


We then set off as a group to get all the materials we were going to need to put the rooms back together. Max and I had already purchases the large fixtures for the bathroom but we picked up all the odds and ends. While shopping for materials, we went a little overboard since we saw a sale on doors. We planned on replacing the doors in the hallway anyways but just not this fast. We ended up with four carts full at Menards and still had a few things to pick up at Lowe's. If you wonder why we are always at these two stores, its because we live about a mile from Lowe's and about two miles from Menards. Bonus for us!

Here we are at the register paying for our four cart loads. Ellen is at cart #2 and if you can "Where's Waldo" find me, I'm waving from cart #3.


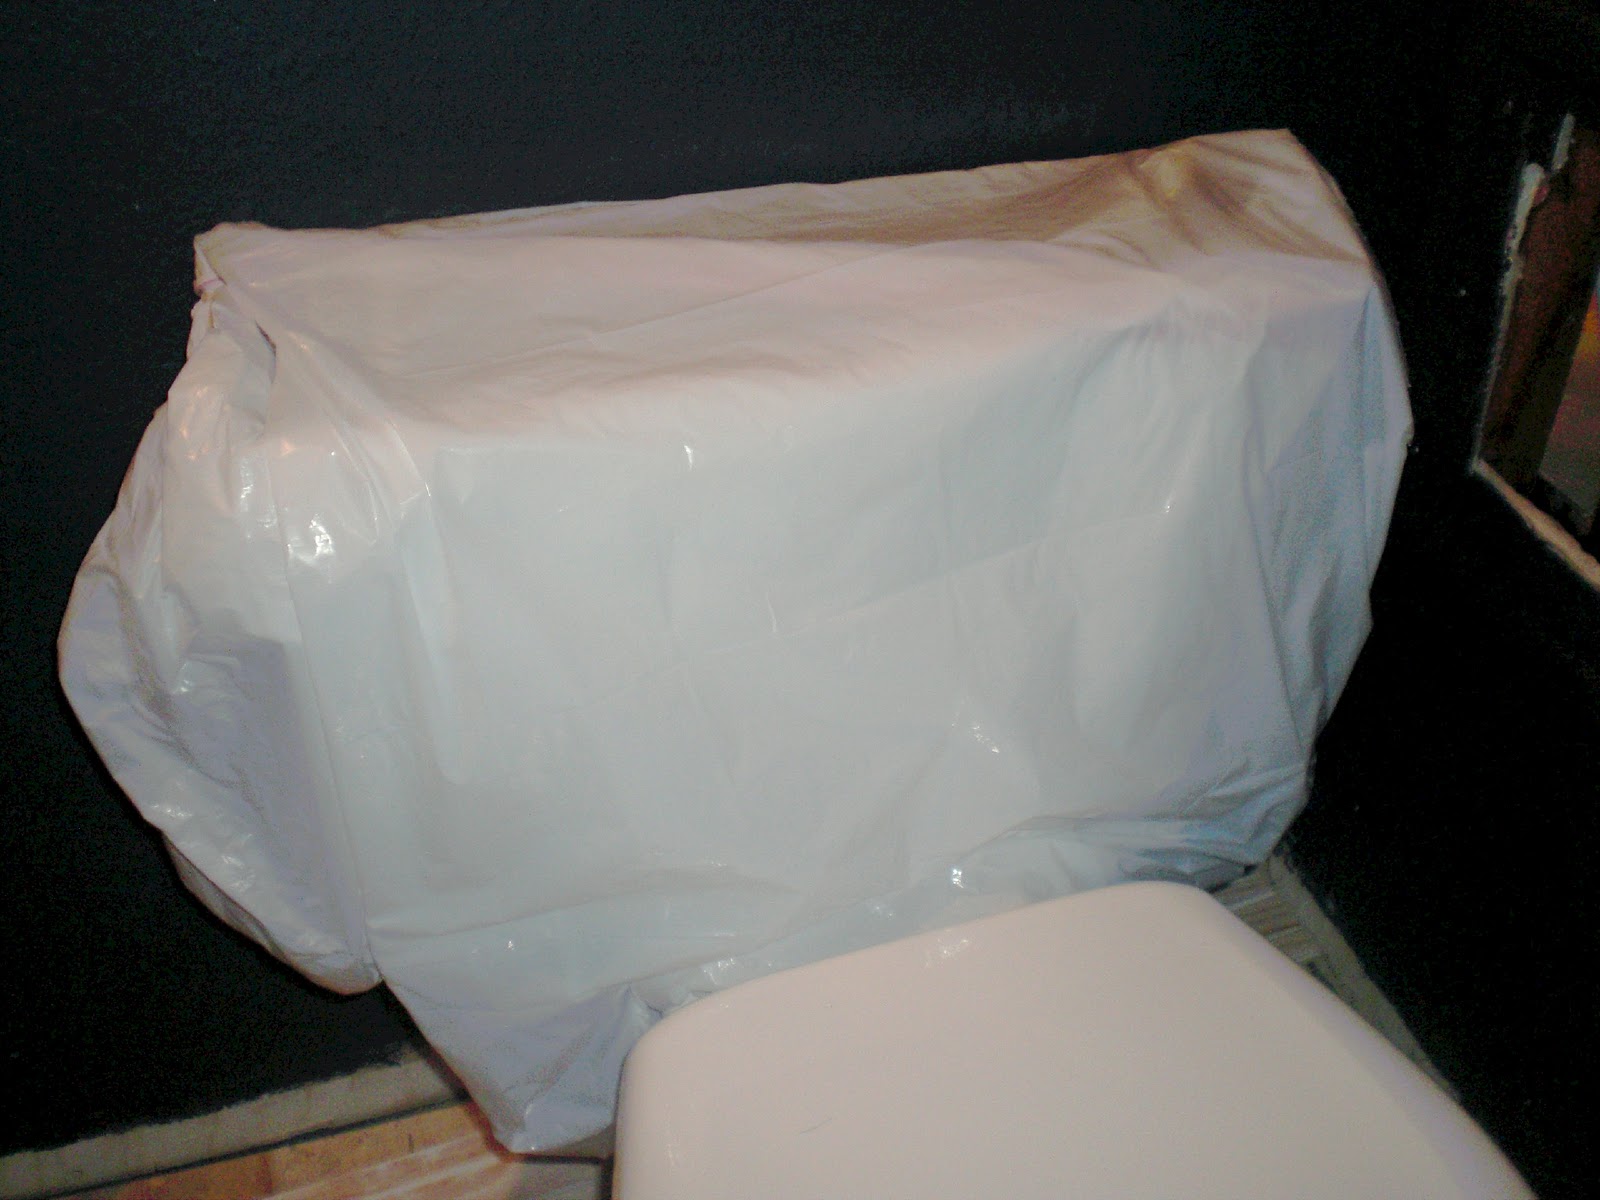
Back at the house, Ellen and I started to insulate the windows and the wall of the half bath. Max and Mark had discovered that the insulation in the main bathroom had either fallen or basically disintegrated so we assumed the half bath was the same since they shared the outer wall. We avoided tearing out the wall by drilling small holes in the wall between the studs and then using an expanding spray foam insulation down the holes. When they were full we just Spackled them shut. I also used the spray insulation around the windows to prevent those crazy Wisconsin winter winds from creeping in. Once it hardened, we just ripped the excess foam off.


While we were doing all of this, Max and Mark were hanging dry wall. They first re-insulated around the window like we did but they used rolled fiberglass insulation as well as the foam for the window itself.


Then we changed gears. Ellen and I headed into our guest bedroom/office to tackle the epicly failed paint color from here (hey, it's only been a month since we touched it) and while Max and Mark continued to hang drywall. This time painting we decided to go with some advice from you the readers (thank you so much by the way!) and use a tinted primer before repainting. We used Dutch Boy Dimensions Tinted Primer/Sealer color matched as close as possible to try and fix the primer issues we were having before. This time it finally covered up everything.


After eating dinner as a family, we went through and mudded the main bathroom together as a family. Aww... We ended up calling it a night around 10:30pm.

Day 2: Sunday
We all groggily got up with coffee assistance to take on the day. Mark put on a second layer of mud in the main bathroom while the rest of us got things set up for the day. He also applied Homax Wall Texture Orange Peel to the half bath with a fine texture. It's a pretty easy way to add texture to walls and ours needed a little help. Just click the grade of texture you want, spray and go!

Mark and I then went off to Lowe's to get flooring and a few more odds and ends for the day. Ellen and Max stayed and painted trim.


When we had returned my cousin Brian and his wife Megan had already arrived and were hard at work installing our new doors. Megan was taking off hardware off the old doors while Brian was teaching Max how to install the door.

Ellen had started to prime the half bath with a colored matched Dutch Boy Tinted Primer/Sealer. It was a lot darker than I had anticipated. The color was matched to Pittsburgh Paint's color called Submarine, which is a gunmetal gray.


While the boys continued on replacing the doors, Megan and I painted the guest bedroom. "Chilled Wine" finally took to the walls, bringing all its glory. It only took seven and a half different layers (four layers of primer and three and a half of paint).


While installing the doors, Brian and Max discovered we had more hardwood floors underneath our hallway. I can't wait to refinish all them!

Mark and Ellen began installing the laminate tile flooring to the half bathroom while we were doing all this. They first laid the laminate foam pad about three layers thick. Mark then measured and cut the boards to match up like grout tile work. Since the walls still were not painted the correct color yet and time was running out in the day, he cut a trim board for the back wall and laid it up where it would eventually go. He then installed a new old toilet to make sure we could at least use the bathroom. The toilet was free because they had just recently redid their bathroom and this toilet was still relatively new.


This is where we wrapped up for the weekend. It was quite exhausting but there was quite a bit of progress in all three rooms. Max has dubbed weekends like this "workgasms" since its quick but it feels good when its done. Hehe...

Have you had any crazy work weekends such as this? Have more than four cart fulls at your local big box store? Any cool hand-me-down toilets?

Saturday, September 17, 2011

Joe the Plummer Come Back!

Okay so Joe is not his name, but we did have a plummer come out to our house for the bathroom.

Friday morning the plummer came to install our tub and to "mix" our water since we are still operating on a two handle system.We figure sometimes we aren't pros and when doing a bathroom update, you want to do it right.

The plummer shows up and we give him the run down of what we were looking to do. Then he asks to see the basement...

He finds out we have cask iron pipes which have not been updated since the house was built and currently are not to code which is now PVC piping. Also the way the house is currently piped, it is not draining properly. Definitely knew that one but thought it was just hair, ha! It's not always the woman clogging the drains! Another thing was the cask iron has cracked and resealed itself over the years making it corrode. Remember this photo?


Well all that brown on the pipe is rust from the corrosion. 

The plummer gave us the option to keep the cask iron and he could reroute the water but it wouldn't solve our drainage problem or come back with a second guy and redo the whole thing at a later time. At that point we decided it would definitely be better in the long run to redo the pluming and make the house up to code. So much for staying within budget here! We went from a bathroom update to a full bathroom remodel. We knew that there would be some updates, but eesh! Good thing we got the house for such a good deal.
That being said, the plummer said he would have to come back Thursday for the two man job. So we get another week with a partial shower. Great!

Bathroom Demolition: Stage Two

Our second stage of demo actually started with a shopping trip. We previously had went to our local Lowe's and Menards to pick out our tub and toilet (we found our sink at West Elm online) and this time we went to purchase. First we headed to Lowe's to buy our tub and wall surround. We chose to go with Peerless's wall and tub set since it fit our tub opening and we liked the semi-modern look of it with all the built in shelves.


We then asked if they could deliver it for us on Friday when our plummer was coming. Nope. Saturday was the earliest they could do it. We then asked if they had them both in stock in their store. Yes, they did. Then we asked if they had a truck we could rent. No, they didn't. So we told them to hold that thought and we'd be right back.

Since we had to go to Menards anyways to get our toilet and shower fixtures we figured we'd at least ask if they had a truck rental. So we purchased our toilet, the Mansfield Summit 3 Elongated Front (Max likes the longer ones apparently) in white. I liked it for its low water consumption and high flush power.


As we went to pay we asked about the truck. We were in luck! For $22.45 (that is with taxes and a fuel surcharge) we got a truck for 75 minutes, perfect for what we needed it for. We went back to Lowe's, picked up the tub and walls and headed home.


The wall removal was a little bit easier than the tile had been. Our bathroom currently has no vent (way out of date we know...) so the drywall over time has just been absorbing all that extra moisture. It didn't just fall out thank God, but it was definitely looser than it should be.


We used our trusty wheelbarrow again for removal. Thanks Mark and Ellen for that housewarming gift!


Here are all our new bathroom materials just waiting to jump out of their boxes and get installed.


Look at all that drywall removed. I don't know what is sexier, the tool belt or the Badger hat.


Another fun thing currently. Since we are only showering in this bathroom (from above photo you can tell we have no walls) we have been doing all our personal grooming in our little bathroom, formally known as the Fish Bathroom, also known as the Poop Bathroom since the fish are no more. Nice I can now start dinner while I am brushing my teeth.


Wednesday, September 14, 2011

Bathroom Demolition: Stage One

It has begun. Our "Packer" bathroom renovation. 

To start this massive undertaking, we started with the removal process. We needed something to put all that old tile and dry wall into. After running some of the costs, we decided on going with a newer product from Waste Management called The Bagster. It holds up to 3330 lbs. of materials and was perfect for the size we needed. The cost of the bag itself is $29.95 and is located at most major home stores, we got ours at Menards. Removal costs vary by city. Here in Milwaukee it is $105 for the first bag and $84 for additional bags. If you "like" them on Facebook you can receive a coupon for $5 off removal service. Hey, every bit helps!

Here we are just starting the filling process.


It was nice to finally remove the carpet we've been hiding storing in our backyard all summer from the bedroom remodel. We killed the weeds and everything...oops! Also never mind my really overgrown garden in the top of the photo.


Here we go with the start. I got the first pull and I went with an already broken tile hole. Unfortunately, nothing moved after I pulled and we learned to start from the top of the tile and work our way down.


Much better.

Max was a little more efficient at the removal than I was.


Here is a little clip of him in action.


As we rounded to the tub we had some fun discoveries. This wasn't the original bathroom like we had thought. The yellow tile was actually a remodel. Max started to pull the tile off and found an inch of plaster cast on a wire frame.


As we removed the wire, we found another layer of tile beneath it. The tile actually wasn't even that bad looking.


This was some of the slightly more fashionable tile they had covered up.


Another discovery was newspaper was used as some sort of an insulator. We weren't a 100% sure why but it was crammed around the fixtures of the tub. Most of it was still quite intact.


From our conclusion, the last remodel was approximately in 1971, forty years ago, so we are definitely over due for an upgrade.


When we started the removal process, we were hauling out tiles in a five gallon pail. When we learned of the plaster we got the wheelbarrow out and literally started shoveling out materials.


I had to joke about Max's hair looking like an old man with all the plaster dust. I found his first gray hair earlier that week. Poor old man.


Knowing we still had to use our shower for this week, we improvised a way to still stay clean. We bought two cheap shower liners for $2 a piece and overlapped them around the shower wall. Using a staple gun, we stapled them directly to the wall. No biggie, the wall is coming out anyways.


The next step of demo is to remove the walls before the weekend. That's when we start putting everything back together again. Quite the whirlwind project!

What sorts of remodel hurdles did you have to deal with like us having to still shower? Just really enjoy demoing like we do? Let us know!


We are also now on Facebook! Like us at The Parkland Project.
Related Posts Plugin for WordPress, Blogger...