Showing posts with label Crafts. Show all posts

Tuesday, September 11, 2012

DIY Wedding Craft Extravaganza

I would love to say that this was an update about how awesome my kitchen color turned out. I would love to say that "Surfer" is completely surftastic and I'm in riding waves all the way from Honolulu. Unfortunately, this post is not it.

As soon as I got the kitchen painted, I went into wedding overhaul before I took nice pictures of what everything looked like. For the last three weeks this is what our kitchen and living room have looked like periodically.

The kitchen table looks like crafting threw up all over it. There are tons of tiny burlap fibers everywhere. I have boxes and boxes of wedding decor strewn about the floor.


Although this area has been cleaned in between projects, the living room has been my crafting/watch Netflix station. Today was a Grey's Anatomy season 8 eight marathon... hey, got to get ready for season 9 right (the plane crash finale was so bogus by the way, Shonda Rhimes)?


There is a silver lining though. DIY wedding projects are done and since I am a huge movie fan and love teaser trailers, here is a little preview of some of the wedding things I've been tackling. Half finished of course. You'll have to wait for the big wedding reveal to see the whole projects.

Even though I went to Michael's for ribbon and such, the main shopping trip was to my local home store Menards. Figures right?


Definitely hit up the Dollar Tree for some DIY gifts for our wedding party.


Goodwill escort cards anyone?


And yes, the green painters tape was hella busted out for some chevrons. What up.


So now that everything is cleaned up, look forward to new updates!

Tuesday, June 19, 2012

Map Art Love

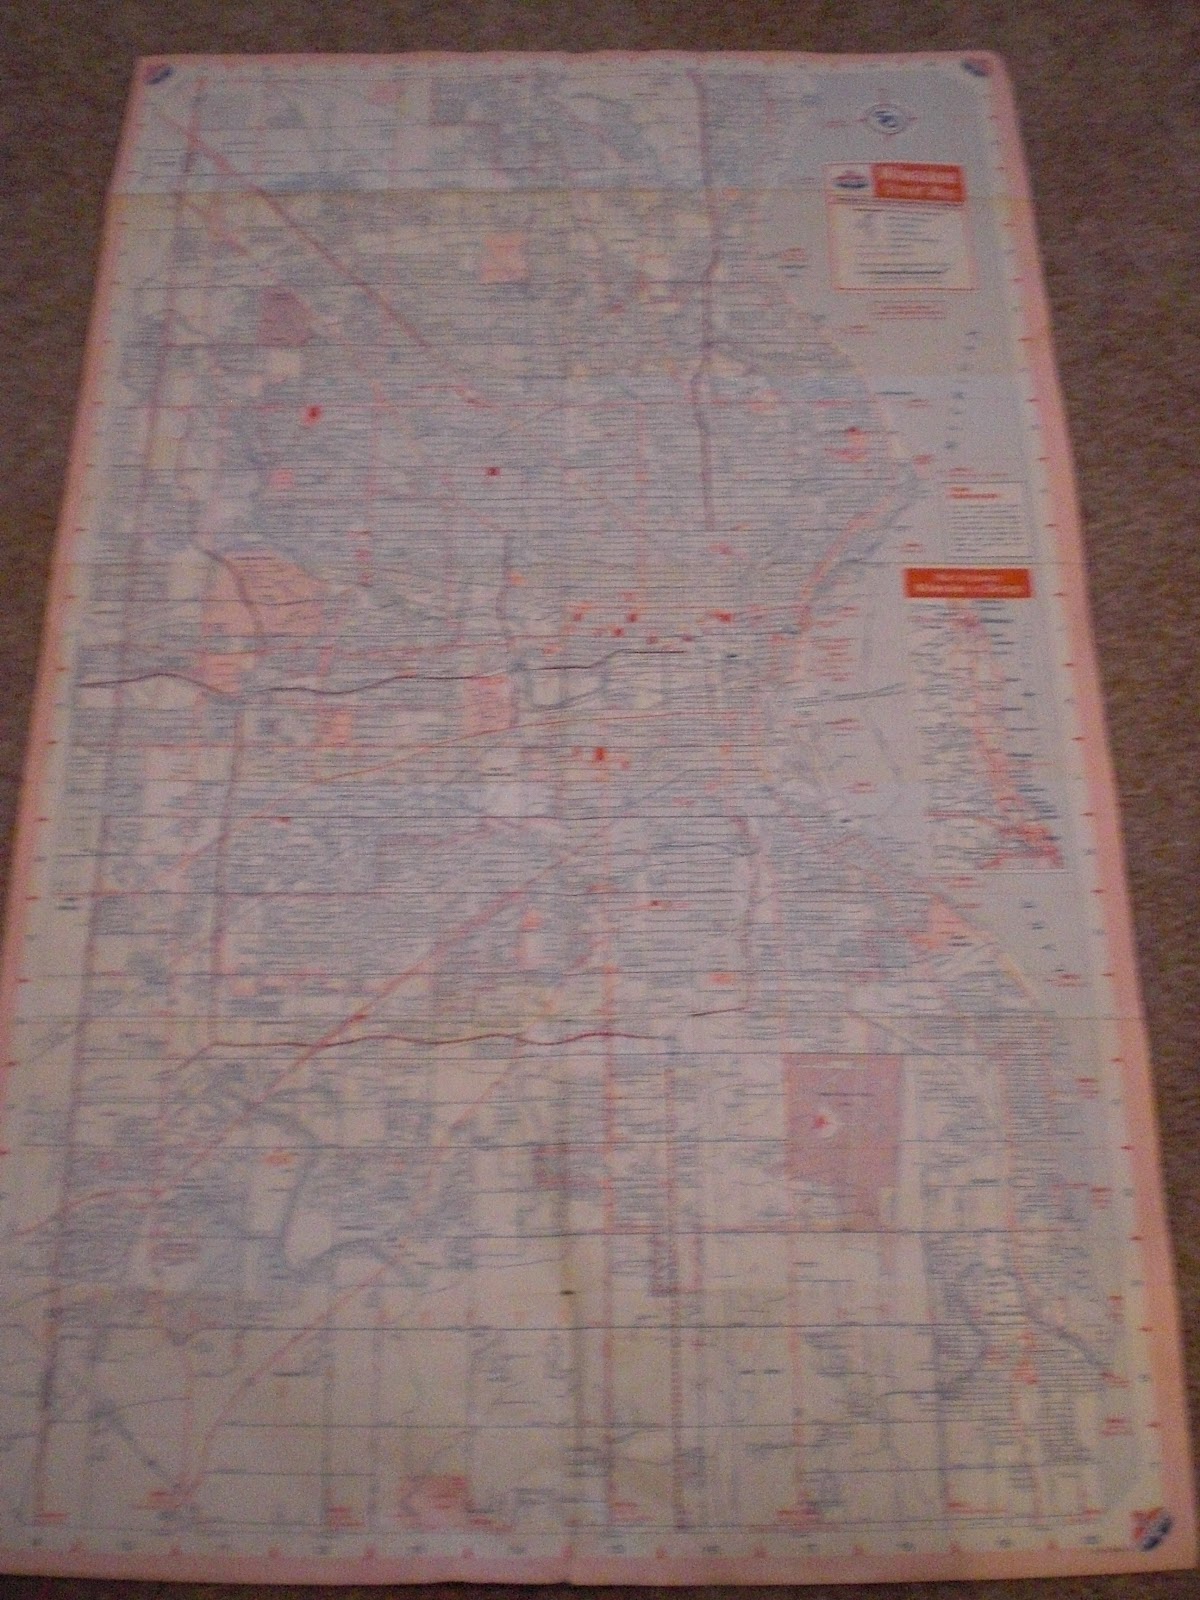
You may recall I mentioned the day we got engaged, I purchased a vintage 1966 Standard Oil street map of Milwaukee for $3 at Ingeborg's Cupboard Antiques and Collectibles in Waupaca, WI. I was super pumped. I knew I was going to make some very cool artwork with it when I saw our current street on it. 


We all know that map art is all the rage in home decor, but I wanted something that really meant something to the two of us. What better way than to show what "roads" we took to becoming engaged? We both have lived in quite a few places in Milwaukee and I thought it would be fun to showcase that as a little heritage and background to our relationship.


I got three different colors of embroidery thread from Michael's for $0.35 a piece and some embroidery needles for $2.99. I used pink to represent myself, blue to represent Max and purple to represent where we lived together. If you are following your color wheel, those shade would blend that purple.


I first used some bad ass embroidering skills I learned in Junior Girl Scouts (which just turned 100 years old!). Each embroidery thread has six smaller threads to weave it up. That is usually too heavy for most projects so you seperate the threads in half and use three.


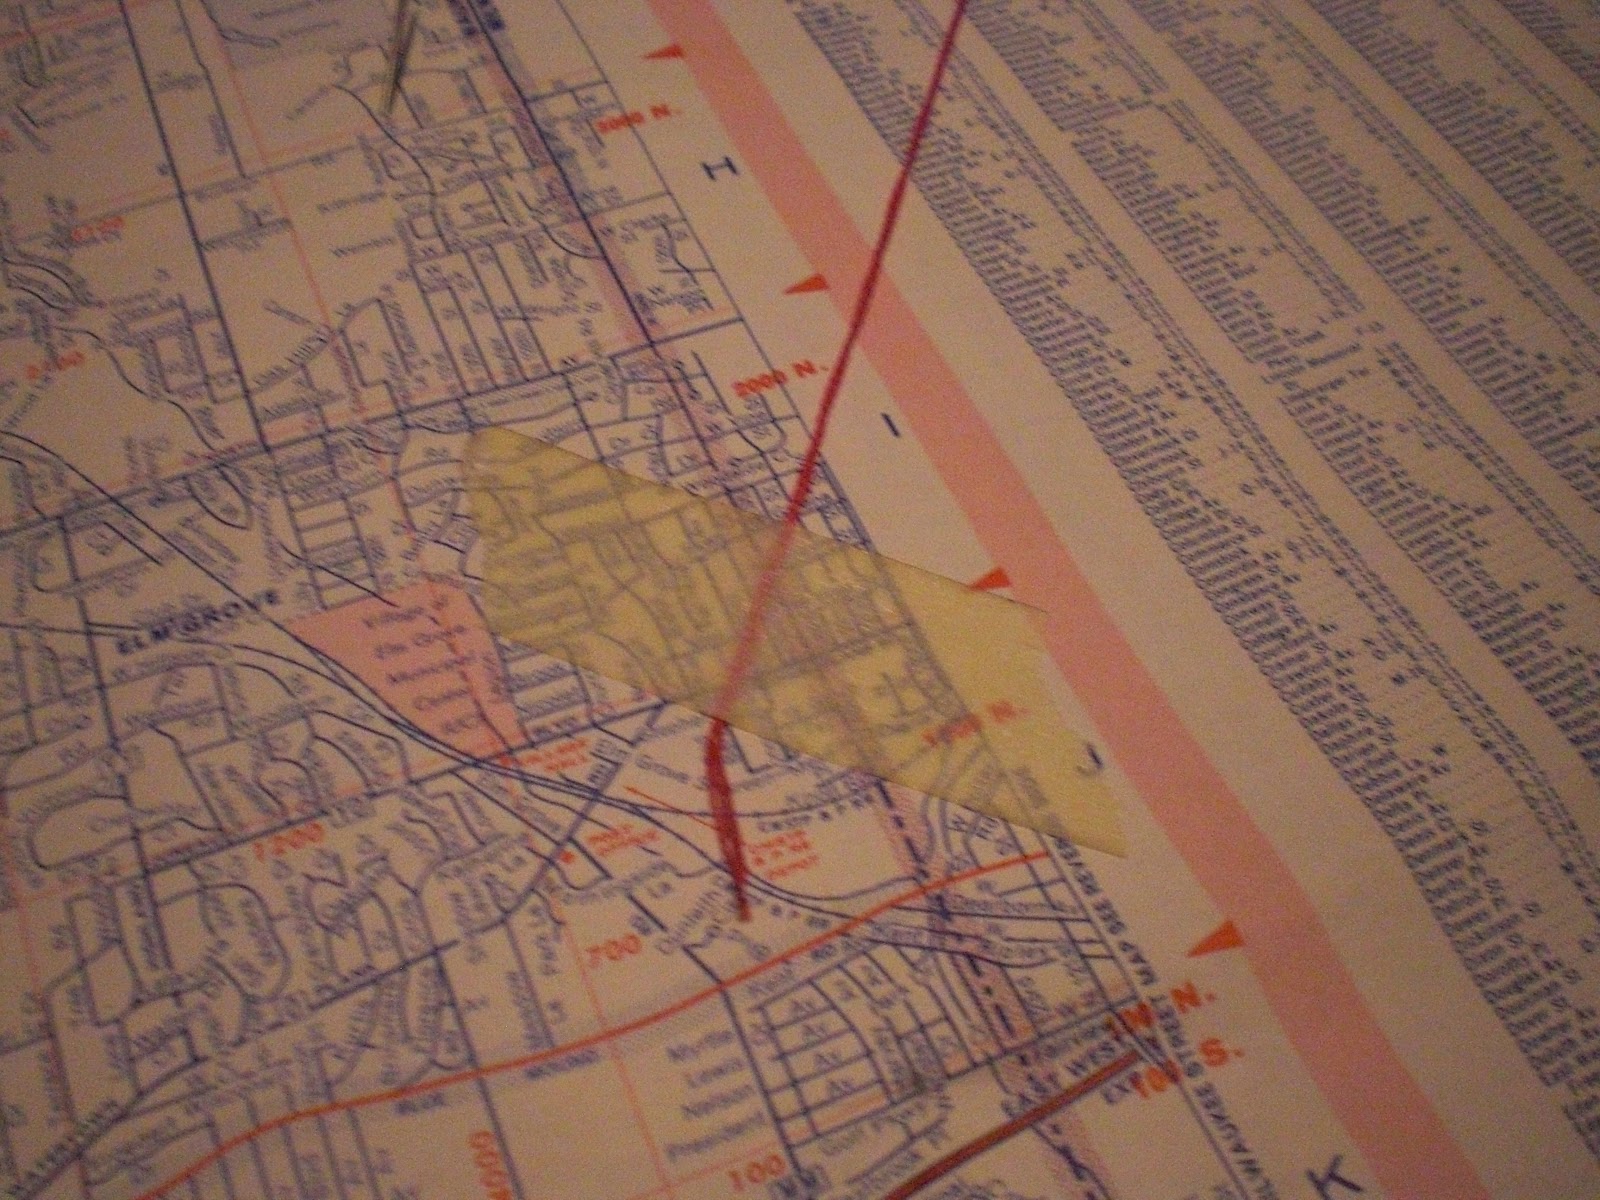
After smoothing out the thread, I looped it through the needle leaving the tail to hang loosely.


Paper is finer than most fabrics one would tend to embroider so I was very cautious. I poked small holes with the need first of the places we had lived.


I secured the embroidery thread to the back of the map with masking tape which I already owned.


Then I went down the line from place to place that we had lived.


After each thread hole, I secured the thread again with more masking tape. This prevented the paper from ripping. In a few instances, Max lived in the same place twice (his fraternity house) and I had to go back. The tape was a way I could make a new hole and secure the thread.


I had already bought a poster frame for this project at Salvation Army and painted it in my massive, frame paint. Using the plastic from the frame, I used that as a measuring tool of how big the map should be since it was slightly larger than the frame.


I simply folded it over and made a crease.


I taped the folded edge down so it would fit perfectly.


I found a quote about love and paths online and found this one from a famous yoga instructor. I do yoga sometimes and felt it was very fitting. I used a blue fine-tipped Sharpie to write this on an open area of the map.


Here is the final product. I didn't make everything overtly big because I really want viewers to be drawn in and ask questions about it.


I hung it on the right side wall in the living room. I think it turned out amazing.


Total cost of project with everything: embroidery thread and needles $4.04, map $3, frame $5.35 and tape free already owned = $12.39


How are you incorporating the map art trend in to your home? Are you personalizing it or just finding a cool vintage piece?

Tuesday, January 31, 2012

Signed with Xs and Os

Love is in the air. Around this place this place I would like to say it never leaves but of course we definitely fight like the best of them. Luckily, the fighting usually isn't about anything super important, mostly just little things.

I would like to share my love for you, my readers, with a DIY tutorial of a Valentine's Day wreath. Very simple and very inexpensive to make.


I got the inspiration for the wreath from from PinterestEtsy store Twoinspireyou, from their XO wreath. Mine is a little more inexpensive to make since I used common household items and felt. Total cost of this project was $4.50. All items I either had on had or got at JoAnn Fabrics.

To start you will need:
- 4-6 sheets of felt one color (I used light pink)
- 4-6 sheets of felt a different color (and fuchsia)
- leftover cardboard (I used an old pizza box)
- one roll of ribbon
- scissors
- glue gun
- pen or pencil


1. Cut cardboard to a long, continuous size. I used the pizza box to make sure I had enough length. A large corrugated box would work as well. It would also be quite sturdy for the project.


2. Draw your X and O on the box. Make sure that the two are touching with at least a 1/2" on each side.


3. Cut out the design. Make sure not to cut the design apart.


See how the two are still connected.


4. Cut a slit about an 1" down from the top of the X. The slit just needs to be wide enough to put the ribbon tie through.


5. Cut a ribbon long enough for a hanger. I use about 12" length. Fold it in half so the ends are even.


6. Slide the ends of the ribbon through the slit in the cardboard.


7. Tie a secure knot behind. It has to be large enough the ribbon will not slip through the slit. Double knot if you must.


8. Secure the ribbon with a generous dab of glue from your glue gun.


9. Press and hold to make sure the knot really gets in the glue well.


10. Cut up many small 1 1/2" to 2" circles. Do this with both colors of felt.


11. Take a dab of glue and place it in the center of a felt circle. Pinch the circle together to create the ripple effect. You may need to hold each for about 30 seconds to make sure the glue grabs hold of the felt. Then glue the piece to the cardboard. I used the same method when making felt flowers here.


Here is it is about half done with one color.


12. Repeat the process with the alternating color. The project will look like this when it is completed. Mine took about 3 hours to make, during two nights of evening Netflix time.


Happy Valentine's Day and hope you have fun with this! Enjoy!


Thursday, December 22, 2011

Christmas 2011 Decor

I usually go way over board with Christmas decor as it is, my favorite holiday. But this year to my dismay, when I brought up the decor boxes I had from our old apartment, I found out we clearly did not have enough to fill a whole house festively enough (at least to my standards).


Being on a limited budget, I had to pick and choose where to spread out what I could buy and what I could make. Let's start with the make projects.

I found this tall skinny artificial tree at Goodwill for $6.99 when I was shopping for Halloween not know what I would do with it. Normally, I never have a good place to stick holiday cards, but not this year! You are looking at the "Card Tree". Decorated only with a vintage tree topper my mom gave me years ago from her childhood and some Dollar Tree ribbon from a previous year, I have just been adding the cards as we get them.


For each of the "ornaments" I have just been taking a hole punch and then tying a string through. These are pre-made ornament hangers.


This whole post I was playing with the settings on my camera with low light and changing ISOs so bear with me if some of the images are a tad blurry. I have no tripod.


Here is a close-up of Max's sister, Molly's family in "ornament" action. Isn't his niece, Claire cute!


The next project I had was none of our stockings had any names attached with them. I had bought them at Menards last year but never got around to labeling them. This year I used scraps from my burlap and linen and some extra ribbon and made us matching tags. All just with the hot glue gun.


Here they are in action. Since we have no mantel of any sort, I hung them using 3M removable hanger hooks in white to blend in with our living room windowsill. I have used them before and they really are great. Come off any wall without a scratch and hold up to three pounds of weight. In order they go (l to r), Maureen (me), Max and Turk.


Turk even posed next to his.


Since I have already shown you the ornaments I made for the Christmas tree, lets me on to her. And she really does look like a fancy lady this year. I used some more of the longer pieces of burlap for garland and some other beaded garland to counter balance the rustic with the sparkly. 


The last few years I had not really had a proper tree topper and was using ribbons to complete our little 6' tree. This year, I upgraded to this rustic beauty that incorporates the red of the tree, the rusticness of the sticks and the white covered balls are mimicked in the round LED lights we have.


Here is a view of just the ornaments and garland so you get the whole picture.


This ornament has been on every tree since the year I was born. My grandfather gave it to me back in 1982, that same Christmas, he died of testicular cancer. I never got to know him but its a great way to honor his memory. The ornament says "Christmas... season of magical moments." and the bunny is there because apparently that was his nickname for me. His "little bunny".


Around the house, I filled random vases with ball ornaments from previous tree years. This one is silver and red.


Are ya sick of tree photos yet?


This one is my favorite. It's the perfect balance of light, ornaments and presents.


The reason I do all this. My boys.


Around the doorways of the living room I added evergreen garland from Menards, $2.99 a strand, on sale. This entry way took two strands.


I used one of Max's TKE fraternity pitchers from formal in college and filled it with silver and red balls as well. Their colors.


Here are my Christmas trees from here nestled in with my wood antelope from the estate sale. Its a nice little forest.


 '
The JOY letters are kicking next to a photo of my parents since they bring so much JOY to my life (cue the "aww").


My Dollar Tree Santa candy jar is ready by the front door for visitors.


Back in the kitchen, I have a "Merry Christmas" banner I got last year from Target for $3.00. Maybe next year I'll make more banners for the holidays.


The dining room table is decked out in my burlap table runner from Thanksgiving (the project that started all the burlap), my Target place mats from last year and large green and white balls in a vase.


Some of the outdoor lights I couldn't seem to find the proper place for this year made it inside the house on top of our cabinets giving off a little bit of ambient lighting.


My festive holiday kitchen hand towels take center stage.


So what do you think? Over done? Not enough? Great ideas? Eh, ideas?

AHHH! I LOVE CHRISTMAS!
Related Posts Plugin for WordPress, Blogger...