
Sorry to be M.I.A. for a few weeks but in my defense, I contracted a horrible case of pink eye that needed two different prescriptions to clear it up. Yowza! Not sometime anyone wants. But while I was out of commission, I did a little holiday crafting.
I'm not much for crafting but with the money saving aspect of it, its really growing on me. I used to say I was more "artsy than craftsy" but now I'm starting to think they sort of go hand in hand. Its just how you "corral the creative". Here is what kept me sane while I was home alone for a weekend (Max went on a hunting trip) with pink eye.
Project #1: Linen Ornaments
I wanted to upcycle some old glass mismatched ornaments I have had for quite a few years and make them useful again. I bought a cream linen fabric remnant from JoAnn's for approximately $3. Then cut them into about 6-7" strips about a 1/4" thick. Making sure I had enough to cover all my ornaments.

Here you can see about how long they are. I used a smaller ornament bulb. If yours are larger, use longer strips.

Using my trusty glue gun, I then dabbed the center of the strip with glue and draped it up the sides of the ornament. Secure the strip in a few more places up the sides leaving the top open.

Here are what the ornaments looked like before I trimmed their tops, sortof like little onions.

Then just trimming the excess fabric off close to the metal topper, I secured those ends down make sure none of the color from before showed.
Here is the final product.

Project #2: Burlap Covered Ornaments
Reusing some of the same box of old mismatched ornaments, I took some of my burlap scraps saved from my Thanksgiving table runner to make these little guys. Inspired from this pin, I tweaked my ornaments a tad bit to accommodate the fact my burlap was a lot looser weave.
Using a similar technique from the flowers on my NFL Packer wreath, I cut up the burlap into approximately 1"-2" squares.

I pinched each piece into a small bunch and dabbed a bit of glue on the end of the bunched fabric. Then I secured it to the ornament.
After repeating the process all over the ornament, this was the final result.

Project #3: Painted JOY Letters
This was by far the easiest project. I found that they still had some of those letters leftover at JoAnn's from my "A for Anderson" that I have on our living room bookshelf on super clearance for $0.97 a pop. So going down the over picked options missing some letters for NOEL, I came up with JOY! Yes I know, who wants to battle this Scrabble player?
I first did a quick coat of my Rust-oleum primer on both sides and the bottom of the letters. No I did not spray this in the house, just a visual for you kids.

Then using acrylic paint, painted each letter red.


DONE.
Project #4: Linen Covered Christmas Trees
So I started this project while doing the ornaments, came back to it later and changed my mind. I originally was going to make them burlap covered, but with my wide weave burlap, I though linen might look better. That is why there is an inconsistency with my my photos. For you, any festive fabric will do!
First, I cut the front and back off of an old cereal box leaving the side tabs on. This is the base for the Christmas trees. You can use any pliable scrap piece of cardboard.
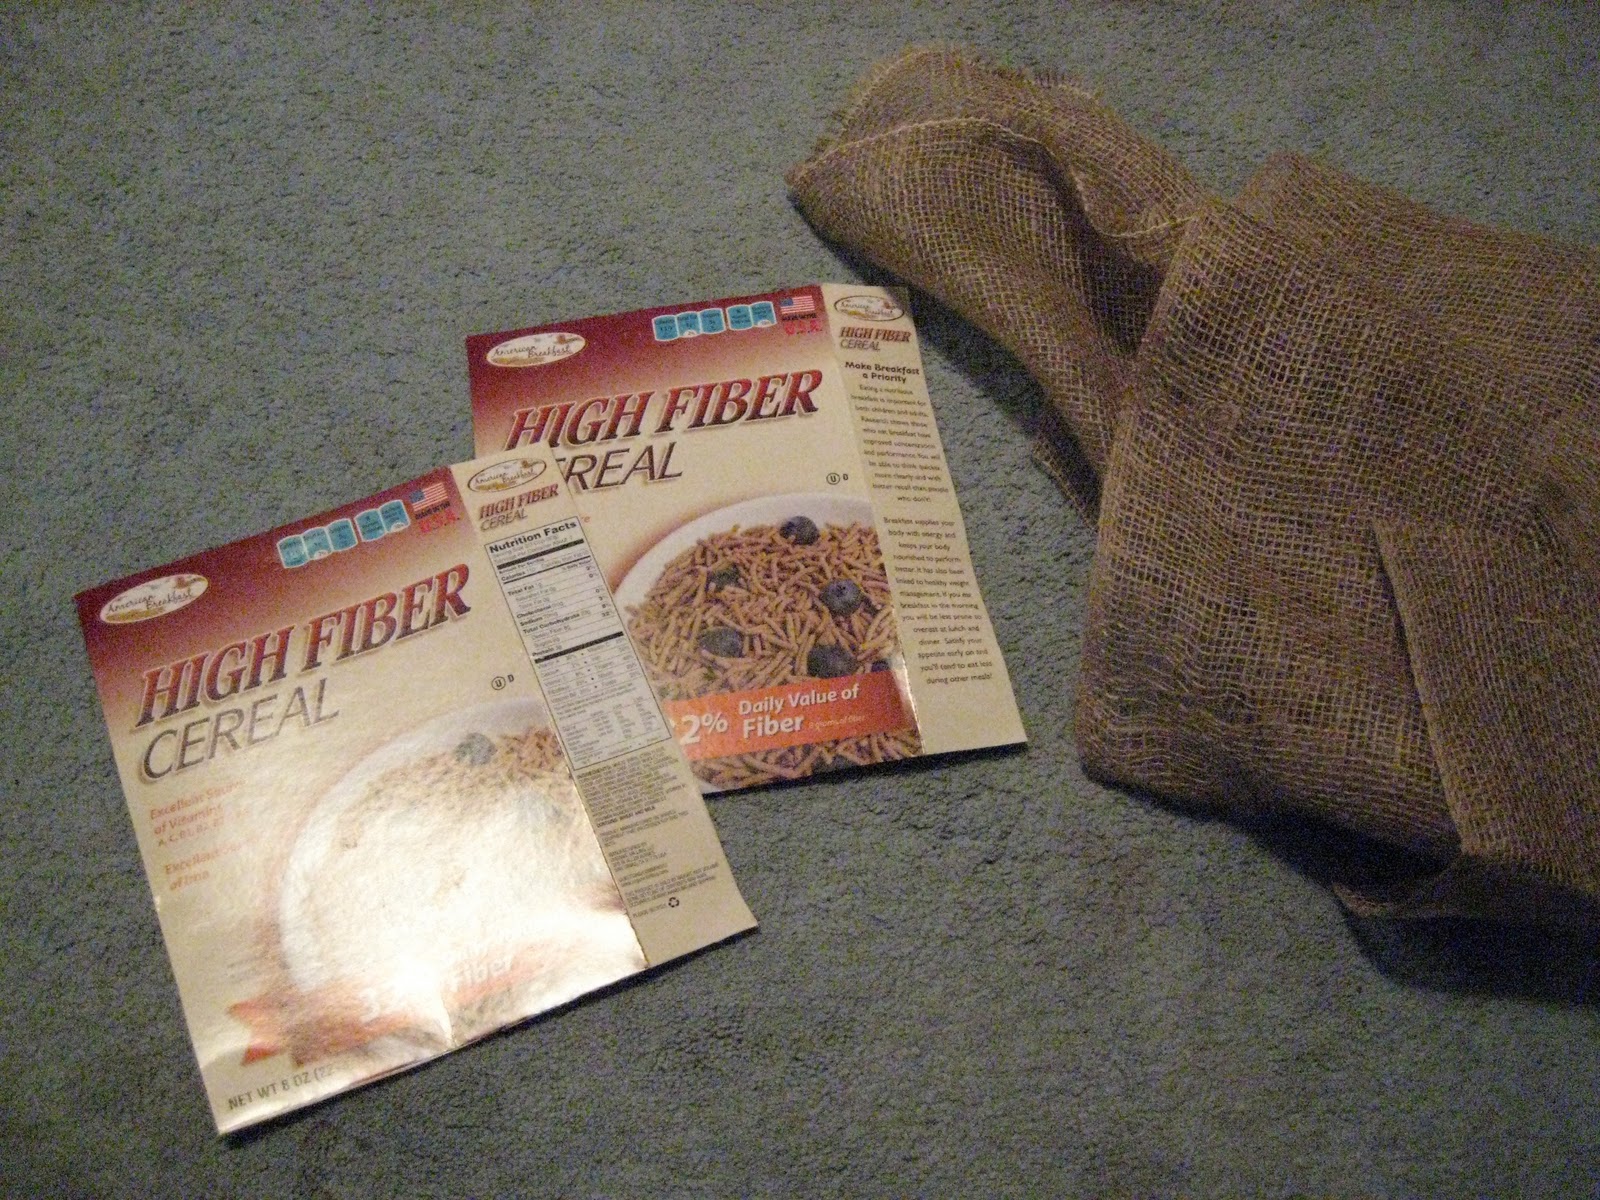
Tightly wrap the boxes in to a cone form.

I used plain packaging tape to secure the cardboard pieces together.

Don't worry if the edges are a little messed up, you'll be covering them with fabric anyways.

I slightly pinched the cones and cut in a straight line to give the cone a flat surface to rest on. Any warps in the bottom will bevel out like this one did. Just cut it off.

Then I was left with these beauts.

Using the same linen remnant from the ornament project, I wrapped the cones using the straight edge of the fabric first. I secured them with the hot glue gun. This left the raw edge out giving the cone a little more definition. A little more glue and it looked like this.


I cut around the bottom leaving a little space for the edges to get folded and secured with the hot glue gun under the cone.

Here is what it looked like after it was glued. A few pieces of the fabric underneath puckered but no biggie since no one see that part.


Then it was time to decorate! I bought a few different types of ribbon from JoAnn's $1 bins and ended up only using one roll.

The one I wrapped the ribbon in a criss-cross pattern. The other was in an alternating striped pattern. I added a couple of draping bows to give them a finished look.

What sort of holiday crafts have you conquered?
No comments:
Post a Comment
Keep it clean and keep it classy!