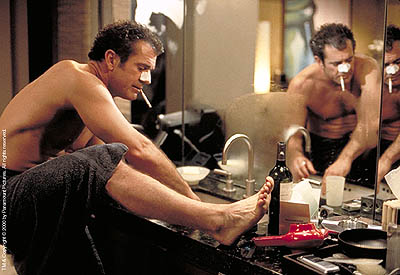
Now that we had a fresh start on our bathroom, it was time to start making it our own. I wanted the bathroom to have a woodsy but spa-like feel. That being said, that was where the faux wood floors and wooden accents in the sink and new closet shelves were coming in. I wanted a very peaceful feeling when I went in there too. You know us girls, retreating for hours to take longs baths, plucking unsightly hairs, bleaching and waxing things men never want to know about. Insert Mel Gibson in What Women Want here. So you want a place you can be there for awhile.
For my spa-like feel, I chose Pittsburgh Paint's wall color "Hearty Hosta". I wanted it with a hint of sage but still a lighter green.
When applying it to the wall, it didn't quite look that way. I should have done some test pots. My bad.
Since we only had the one light in the bathroom and we needed to replace it, I started painting around the electrical hole. And continued by cutting around the edges of the room. With trial and error of painting a few rooms now, I highly suggest using the Surline edging paint brush. It's short handle and beveled bristles make it much easier to use and control the paint than with a roller edger which we used in the bedroom.
So when it became time to install our new light, we ran into a slight problem. The electrical hole was too big and showed behind the circular fixture base. We had to fix that before we could continue. Max taped the corners off with drywall tape and then used drywall mud around the area. He was careful not to cover any vital parts. The tricky part was doing it all in one fall day since we had no light in this room now. With the days in fall being shorter we were on a time crunch to get this all done one Saturday.
We did the first layer of tape and mud early in the morning and set a fan blowing directly on the spot to dry it faster. While that was drying we ran other errands and even went to the pumpkin patch...yay! As soon as we got back, it was almost completely dry so Max sanded it and applied another layer of mud. And then more fan...
A couple of hours later (2:30ish) that layer was dry as well. I rolled our texturized primer over the surface and then more fan...
About an hour after that it was ready for a coat of paint. And more fan...
Around 5PM and before it started to get too dark we couldn't do anything, we started to install the light. We go the fixture from Ancona located at Menards.
We had no issues with the install. The light went in very easily.
Three coats of paint later and here is the final result with our floors finally uncovered. Can't wait to start putting everything back in place! Are you getting as excited as I am?!
What Women Want photo from here.


No comments:
Post a Comment
Keep it clean and keep it classy!